Simple Vite Electron App
A Simple Vite Electron App.
In this post I am going to continue with the UDP broadcast client project. I will create an electron app that we can use to graph the data being broadcast. I will be using Vite, Vue3, Tailwind, and Plotly as some notable dependencies. Just to reiterate the warning from the prior post, this is not production grade, this is just showing the core concepts.
All the development and testing has been done on linux.
Sample Application
The sample application can be found here.
Install Vite/Vue/Electron Scaffolding
First run the Vite/Vue/Electron scaffolding.
npm create electron-vite
cd electron-vite-vue
npm install
Install Tailwind CSS
Follow the Tailwind CSS Vite Guide. Skip step 1 because we already have a project.
npm install -D tailwindcss postcss autoprefixer
npx tailwindcss init -p
Edit the tailwind.config.js file. When you are finished it should look like this:
/** @type {import('tailwindcss').Config} */
module.exports = {
  content: [
    "./index.html",
    "./src/**/*.{vue,js,ts,jsx,tsx}",
  ]
}
Add a file src/index.css to your project with the following:
@tailwind base;
@tailwind components;
@tailwind utilities;
Configure Electron and Vite
I have modified vite.config.ts to remove VS Code references as well as the node.js/renderer integration. Vite.config.ts now looks like:
import { rmSync } from 'fs'
import { defineConfig } from 'vite'
import vue from '@vitejs/plugin-vue'
import electron from 'vite-electron-plugin'

rmSync('dist-electron', { recursive: true, force: true })

export default defineConfig({
  plugins: [
    vue(),
    electron({
      include: ['electron'],
      transformOptions: {
        sourcemap: true,
      }
    })
  ],
  clearScreen: false,
})
Edit the file src/main.ts. Remove any references to the node runtime. Add the index.css file containing our tailwind includes.
import { createApp } from 'vue'
import App from './App.vue'
import './index.css'

createApp(App)
  .mount('#app')
  .$nextTick(() => {
    console.log('mounted');
  })
Install Plotly
Next install Plotly.js.
npm i plotly.js-dist-min
npm install @types/plotly.js-dist-min
Add a console.log statement to the HelloWorld.vue component to print the version of Plotly. This will verify that we have correctly installed it. Edit src/components/HelloWorld.vue change the setup script section to be the following:
<script setup lang="ts">
import { ref } from 'vue'

import Plotly from 'plotly.js-dist-min'
console.log(Plotly.version)

defineProps<{ msg: string }>()

const count = ref(0)
</script>
Run in Dev Mode
Start the electron app in development mode.
npm run dev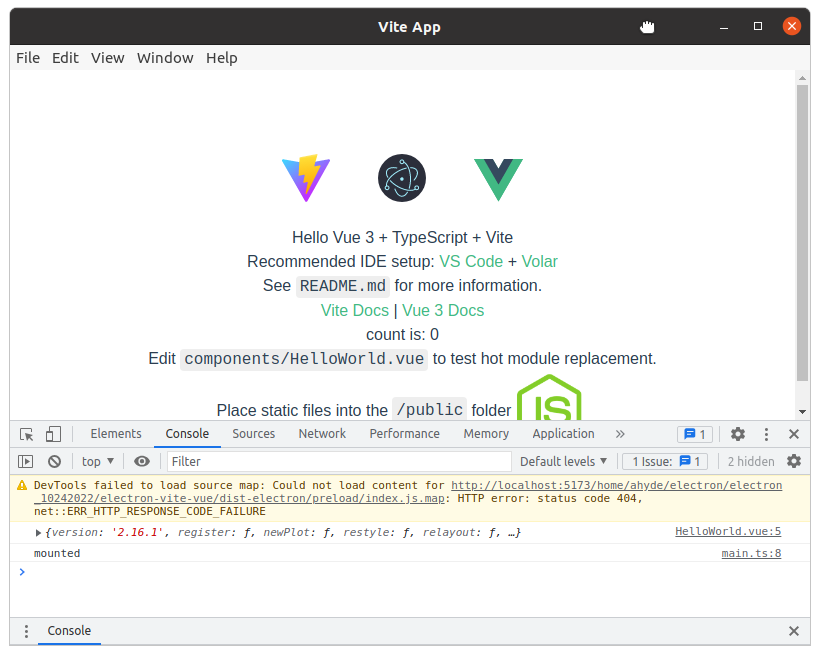
Electron, Vite, Vue3, and Tailwind
Note the html has the —tw- css applied. Note the two console message.
Build and Run in Production Mode
Build then run the standalone electron app and verify all is well.
npm run build
cd release/2.1.0
./electron-vue-vite-2.1.0.AppImage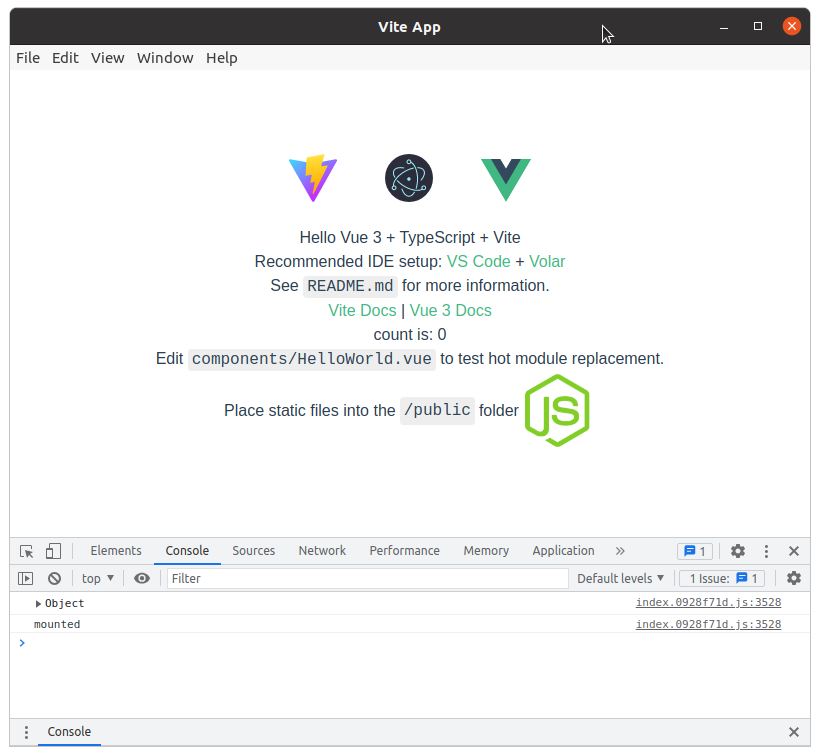
Electron, Vite, Vue3, and Tailwind
Note the two console message.
Conclusion
Congratulations! Next we will add reading and a plotting widget for the data.